Connecting to your Internet of Things (IoT) gadgets when they sit behind a network firewall can feel like a puzzle, can't it? Many people, quite honestly, want to keep an eye on their smart home or office devices, even when they are far away. This need to stay connected, to have a good look at things from a distance, is a big deal for peace of mind and simply for making sure everything works as it should.
For a lot of us, the idea of having our devices talk to us from anywhere is pretty appealing. Yet, that helpful firewall, which is there to keep our networks safe, often gets in the way of this remote chat. It's like having a very watchful guard that lets things out but is very particular about what comes back in, so it's a bit of a challenge.
This article will show you a way to get your remote IoT devices talking through that firewall, especially if you have a Mac server ready to put to good use. We will, in a way, help you set up a secure pathway for your devices to communicate, making sure you can access them whenever you need to, and that's pretty neat.
Table of Contents
- Why Remote IoT Access Matters
- The Firewall Challenge for IoT
- Why a Mac Server is a Good Choice
- Common Methods for Remote Access
- Preparing Your Mac Server for IoT Access
- Setting Up a Reverse SSH Tunnel Example
- Using a Reverse Proxy for Web-Based IoT
- Security Considerations and Best Practices
- Frequently Asked Questions (FAQs)
- Conclusion: Staying Connected to Your IoT
Why Remote IoT Access Matters
Having the ability to get at your IoT devices from anywhere really opens up a lot of possibilities. Think about checking your home's security cameras while on vacation, or maybe turning off a smart light you forgot about, or even keeping an eye on industrial sensors from a different city. This kind of access allows you to put your devices to their fullest use, and that's pretty useful.
For businesses, too, the power to monitor and control equipment without needing to be physically present can save a lot of time and resources. It means less travel, quicker responses to issues, and a general sense of being more in charge of your operations, which, you know, makes a difference.
It's about making your smart devices truly smart and giving you the power to manage them on your own terms. So, it really helps to expand what you can do with your setup.
The Firewall Challenge for IoT
Firewalls, as a matter of fact, are a very important part of network safety. They act like a guard at your network's front door, checking all incoming and outgoing traffic. This is great for keeping out unwanted visitors and bad stuff, but it can also make it tough for you to reach your own devices from outside your home or office network.
Most IoT devices, typically, are designed to work within your local network. They expect to talk to other devices and your phone or computer that are all on the same Wi-Fi. When you try to connect from outside, the firewall often sees this as a stranger trying to get in and, quite rightly, blocks the connection.
This blocking is a good thing for security, but it does mean we need a clever way to tell the firewall that our remote connection is friendly and allowed. It's a bit like needing a special pass to get into a very secure building, so we need to make one.
Why a Mac Server is a Good Choice
Using a Mac as a server for this purpose, you know, has some real advantages. Macs are known for being very reliable and stable, which is important for something that needs to run all the time. They also have a Unix-based core, which means they are pretty powerful for network tasks and running server software.
If you already have an older Mac lying around, perhaps a Mac mini or an iMac that's not your main computer, it can be put to good use as a dedicated server. This makes it a cost-effective choice for many people, especially if you are already familiar with the macOS environment, so it's a natural fit.
Plus, macOS comes with many built-in tools that make setting up network services, like SSH, much simpler than on some other operating systems. This can really cut down on the amount of fiddling you need to do, which is always a bonus.
Common Methods for Remote Access
There are a few different ways people try to get to their devices from afar. Each has its own set of things to think about, especially regarding how safe they are and how easy they are to get working, so we'll look at a few.
Port Forwarding: A Quick Look
Port forwarding is, in a way, the simplest method, but it also carries the most risk. It involves telling your router to send all traffic coming in on a specific "port" directly to one of your internal devices. It's like leaving a specific door wide open on your firewall, pointing directly to your IoT device.
While it works, it can make your IoT device very vulnerable to attacks from the internet, as it exposes the device directly. For most home users, this is generally not a recommended approach for security reasons, so it's something to be careful about.
Virtual Private Networks (VPNs)
A VPN sets up a secure, encrypted connection between your remote device and your home network. Once connected, your remote device acts as if it's actually inside your home network, allowing you to reach any device as if you were sitting right there. This is a much safer way to do things.
Setting up a VPN server on your Mac can be a good option, but it can be a bit more involved, and your router might also need to support VPN passthrough. It provides a very secure way to get in, which is a big plus for safety.
Reverse Proxies and SSH Tunnels
These methods offer a good balance of security and control. A reverse proxy acts like an intermediary, taking requests from the internet and forwarding them to the correct internal IoT device, all while keeping the internal device's actual address hidden. It's like a concierge for your network, so it's very handy.
An SSH tunnel creates a secure, encrypted pathway through your firewall. This is particularly useful for devices that might not have a web interface but rely on other network protocols. We will focus on these two methods as they are generally safer and more flexible for a Mac server setup, you know, for a better experience.
Preparing Your Mac Server for IoT Access
Before we can get anything talking, we need to make sure your Mac server is ready for its new job. These steps are pretty important to get right, honestly, for everything to work smoothly.
Static IP Address Setup
Your Mac server needs a fixed address on your local network. If its IP address changes, your remote connections will break. You can set this up in your Mac's Network System Settings or, more reliably, by assigning a static IP address to your Mac's MAC address within your router's settings. This way, your router always gives the same address to your Mac, and that's good.
Enabling Remote Login (SSH)
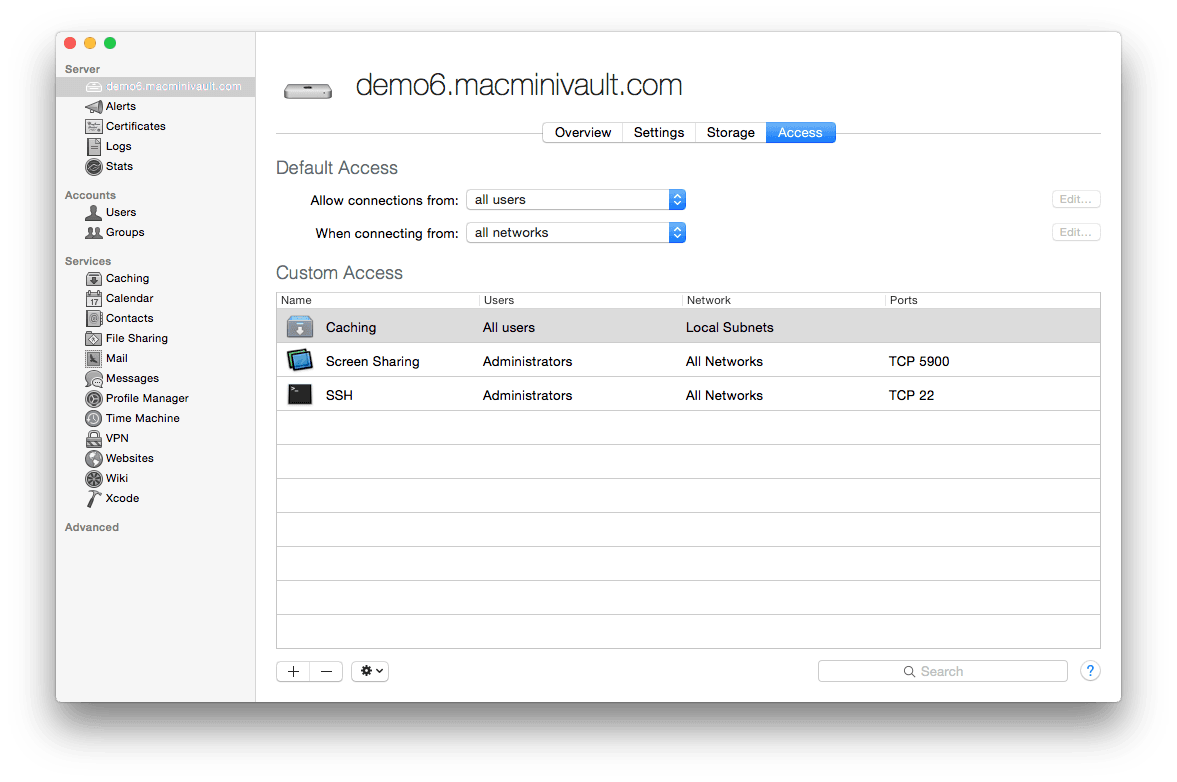
SSH, or Secure Shell, is what we'll use to create our secure tunnels. On your Mac, you can turn this on by going to System Settings > General > Sharing, and then checking the box next to "Remote Login." Make sure to allow access for specific users or all users who need to connect, as a matter of fact.
Configuring Your Router/Firewall
You will need to allow incoming connections to your Mac server for SSH (port 22, typically) or for your reverse proxy (port 80 for HTTP, port 443 for HTTPS). This involves logging into your router's administration page and setting up a "port forwarding" rule. You'll forward the external port (e.g., 22) to your Mac server's internal static IP address on the same port. This is the only port forwarding we will do directly to the Mac, which is safer than opening ports to individual IoT devices, so it's a key step.
Setting Up a Reverse SSH Tunnel Example
A reverse SSH tunnel is a really clever way to get around firewall restrictions. Instead of you connecting directly to your IoT device, your IoT device or a small machine near it (like a Raspberry Pi) initiates a connection *out* to your Mac server. Since outbound connections are usually allowed by firewalls, this works. Then, your Mac server "listens" on a specific port, and any connection to that port is forwarded back through the tunnel to your IoT device, which is pretty cool.
What You'll Need
You'll need your Mac server, of course, with SSH enabled and accessible from outside your network (via port 22 forwarding on your router). You'll also need an IoT device or a small computer (like a Raspberry Pi) on the same network as your IoT devices that can run an SSH client. This small computer will be the one initiating the connection to your Mac, so it's important.
Steps to Create the Tunnel
From your IoT device's local network (or the Raspberry Pi connected to it), you'll run an SSH command that creates the reverse tunnel. Here’s a basic example of the command you would use, you know, to get things going:
ssh -N -R 8080:localhost:5000 user@your_mac_server_public_ip- `ssh`: The command to start an SSH connection.
- `-N`: Tells SSH not to execute a remote command, just forward ports.
- `-R 8080:localhost:5000`: This is the crucial part. It means:
- `8080`: The port on your Mac server that you will connect to from your remote location.
- `localhost`: Refers to the machine initiating the tunnel (your IoT device/Pi).
- `5000`: The port on your IoT device that you want to access (e.g., its web interface or API port).
- `user@your_mac_server_public_ip`: The username and public IP address of your Mac server.
Once this command is running on your IoT device's local network, you can then, from anywhere else, connect to `your_mac_server_public_ip:8080` and your connection will be securely routed through your Mac server to your IoT device's port 5000. It's really quite ingenious, honestly.
Making the Tunnel Persistent
For the tunnel to stay open, you'll need to make sure the SSH command keeps running. You could use `screen` or `tmux` to keep the session alive, or even set up a simple script that restarts the tunnel if it drops. On the Mac server side, you'll want to ensure SSH is configured to allow these reverse tunnels. This might involve checking your `sshd_config` file for `GatewayPorts yes`, so it's something to look into.
A more robust solution for persistence is to use a tool like `autossh`, which is designed to automatically restart SSH sessions and tunnels. This is pretty much what you want for a reliable setup, you know, for long-term use.
Using a Reverse Proxy for Web-Based IoT
If your IoT devices have web interfaces (like a smart home hub or a network camera), a reverse proxy on your Mac server is an excellent way to provide secure, remote access. This method is particularly good because it can handle multiple devices and even add security features like SSL/TLS encryption, which is very important.
We'll use Nginx as our reverse proxy, as it's a very popular and powerful web server that's great at this kind of job. It's relatively simple to get going on macOS, too, which is nice.
Installing Nginx on Your Mac
The easiest way to install Nginx on macOS is by using Homebrew, a package manager for Mac. If you don't have Homebrew installed, you can get it by running this command in your Terminal:
/bin/bash -c "$(curl -fsSL https://raw.githubusercontent.com/Homebrew/install/HEAD/install.sh)"Once Homebrew is installed, you can install Nginx with a simple command:
brew install nginxAfter installation, you can start Nginx with `sudo brew services start nginx`. You can check if it's running by opening your web browser and going to `http://localhost:8080`. You should see a "Welcome to Nginx!" page, and that's a good sign.
Configuring Nginx as a Reverse Proxy
Now, we need to tell Nginx to forward requests to your IoT device. The main Nginx configuration file is usually found at `/usr/local/etc/nginx/nginx.conf`. You'll want to edit this file, or better yet, create a new configuration file in the `servers` directory (e.g., `/usr/local/etc/nginx/servers/iot_proxy.conf`) and include it in the main `nginx.conf` file. Here's a basic example of what you might put in `iot_proxy.conf`, you know, to get started:
server { listen 80; # Listen for incoming HTTP requests on port 80 server_name your_mac_server_public_ip_or_domain; # Your Mac's public IP or domain name location /mydevice/ { proxy_pass http://192.168.1.100:8080/; # The internal IP and port of your IoT device proxy_set_header Host $host; proxy_set_header X-Real-IP $remote_addr; proxy_set_header X-Forwarded-For $proxy_add_x_forwarded_for; proxy_set_header X-Forwarded-Proto $scheme; } # You can add more 'location' blocks for other IoT devices # location /anotherdevice/ { # proxy_pass http://192.168.1.101:5000/; # # ... other proxy headers # } } In this example, when someone visits `http://your_mac_server_public_ip_or_domain/mydevice/`, Nginx will forward that request to your IoT device at `http://192.168.1.100:8080`. Remember to replace `192.168.1.100:8080` with the actual internal IP address and port of your IoT device, and that's important.
After making changes to the Nginx configuration, you need to test the configuration and then reload Nginx:
nginx -t sudo brew services reload nginx For more security, you should absolutely set up SSL/TLS (HTTPS) for your Nginx proxy. You can get free SSL certificates from Let's Encrypt using Certbot, which integrates well with Nginx. This encrypts all traffic between your remote device and your Mac server, which is very, very good for security, so it's a worthwhile step.
Security Considerations and Best Practices
Whenever you open up your network to remote access, security should be at the very top of your mind. Honestly, there are several things you can do to keep your setup safe.
- Strong Passwords: Always use very strong, unique passwords for your Mac server and any IoT devices. This is a basic but incredibly important step.
- SSH Key Authentication: For SSH connections, use SSH keys instead of passwords. This is much more secure and prevents brute-force attacks. You can set this up on your Mac and on the client device initiating the tunnel.
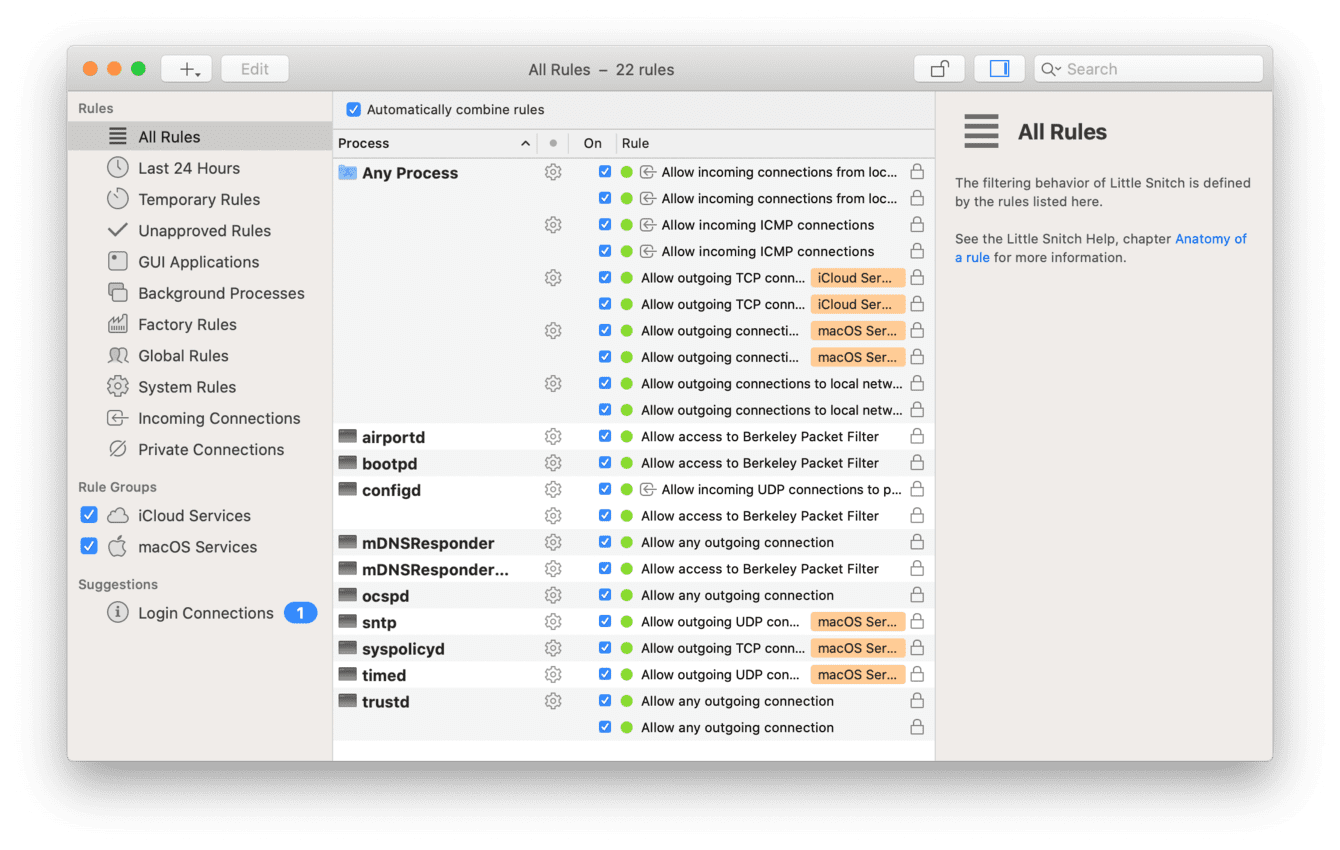
- Firewall Rules: On your Mac, make sure its built-in firewall is active and only allows necessary incoming connections (like SSH and your Nginx proxy ports).
- Keep Software Updated: Regularly update macOS, Nginx, Homebrew, and any other software on your Mac server. Updates often include security fixes, and that's crucial.
- Limit Access: Only allow access from specific IP addresses if possible, especially for SSH. This can be configured in your router's firewall or your Mac's firewall.
- Monitoring: Keep an eye on your server's logs for any unusual activity. Tools like `logrotate` can help manage logs.
- Use HTTPS: If using a reverse proxy for web interfaces, always use HTTPS. This encrypts the communication and verifies the identity of your server, which is really, really important.
- Least Privilege: When setting up users for SSH, give them only the permissions they absolutely need. Don't use the `root` user for daily access.
By taking these steps, you can greatly reduce the risks associated with remote access, making your IoT setup much safer, and that's a big deal.
Frequently Asked Questions (FAQs)
How do I find my Mac server's public IP address?
You can find your public IP address by simply searching "what is my IP" on Google from a device on your home network. This address might change over time unless your internet service provider (ISP) gives you a static public IP. If it changes, you might consider using a Dynamic DNS (DDNS) service, which maps a domain name to your changing IP, and that's pretty useful.
Can I use this method for any type of IoT device?
Generally, yes, if the IoT device has a network interface that uses standard protocols like HTTP, SSH, or other TCP/IP-based services. For very simple devices that only connect to a cloud service, these methods might not be directly applicable, but for many smart home hubs, cameras, or custom-built devices, they work well, you know, for a lot of things.
Is it safe to keep my Mac server running all the time?
Keeping any computer running 24/7 has some security implications, but with proper security measures, a Mac server can be quite safe. Make sure it's always updated, uses strong authentication, and has its firewall properly configured. Macs are built for reliability, so they are pretty good at this, too, as a matter of fact.
Conclusion: Staying Connected to Your IoT
Getting your remote IoT devices to work smoothly behind a firewall, especially with a Mac server, really does
Detail Author:
- Name : Maud Swift
- Username : selina.feil
- Email : olga23@brown.com
- Birthdate : 2002-02-03
- Address : 74920 Schamberger Skyway Port Pablo, KY 10624-4325
- Phone : +1 (380) 244-9133
- Company : O'Hara-Mitchell
- Job : Industrial-Organizational Psychologist
- Bio : Sint deserunt iure nihil ipsum non asperiores optio. Perspiciatis voluptatem eum est nam aut et. Architecto aut dolore in vel iusto ducimus reiciendis. Aut maxime iure autem.
Socials
instagram:
- url : https://instagram.com/lrenner
- username : lrenner
- bio : Qui accusantium deleniti iure quis nemo. Corrupti et eius odio consectetur ratione.
- followers : 1509
- following : 1181
facebook:
- url : https://facebook.com/renner1976
- username : renner1976
- bio : Ut rerum et dolores similique necessitatibus.
- followers : 684
- following : 542
