Are you looking to keep a close eye on your smart devices, maybe even from far away? Well, it's almost a given that managing your Internet of Things (IoT) gadgets without being right there can feel like a big step. But just think, what if you could check on your home automation, gather information from a remote weather station, or even fix problems with devices without having to be physically present? That, in a way, is the true convenience of remote monitoring, and it's a capability many people are very much seeking these days.
If you're someone who is into IoT and needs to watch things from a distance, you've come to the right place, you know. Today, we're taking a good look at how to set up remote IoT monitoring using a secure shell, or SSH, across different computer setups. This article will guide you through downloading and configuring SSH for IoT monitoring on Raspberry Pi, Ubuntu, and Windows, ensuring you get seamless connections and useful information flow.
This guide will take you through the essential steps to get started with remote IoT monitoring using SSH, particularly with Raspberry Pi, and explore the possibilities of remote access and data analysis. Whether you’re using a Raspberry Pi, a computer running Ubuntu, or a Windows machine, setting up SSH is something you can definitely do, and we'll show you how.
Table of Contents
- What is Remote IoT Monitoring and Why SSH?
- Preparing Your Raspberry Pi for SSH
- Setting Up SSH on Ubuntu for IoT Monitoring
- Connecting from Windows to Your IoT Devices
- Practical Uses for Remote IoT Monitoring
- Securing Your SSH Connections
What is Remote IoT Monitoring and Why SSH?
Remote IoT monitoring, quite simply, means keeping tabs on your Internet of Things devices from a different spot. This could be your home security cameras, sensors checking the temperature in a greenhouse, or even a smart pet feeder. It's about getting information and, sometimes, sending commands to these gadgets without having to be right next to them, which is pretty handy, you know.
The Convenience of Remote Access
Imagine, if you will, being able to manage your home automation setup while you're away on a trip, or perhaps checking the air quality data from a sensor in your attic without climbing up there. This kind of access makes life a lot simpler, and it also helps when you need to sort out a problem with a device that's not easily reached. It's about having that control, even when you're not physically present, which, you know, can be very reassuring.
Why SSH is a Good Choice
SSH, or Secure Shell, is a method for secure network communication. It's a way to get into another computer over an unsecured network, but it makes sure everything is private and safe. For IoT monitoring, this means you can send commands, move files, and check on how your devices are doing with ease. It's a rather trusted tool, especially when you consider how important security is with connected devices, so it's often a preferred way to go.
Preparing Your Raspberry Pi for SSH
The Raspberry Pi is a tiny, affordable computer that is very popular for IoT projects. Setting it up for remote monitoring using SSH is a pretty common first step for many people. It's a device that, frankly, lends itself well to this kind of use, given its size and capabilities.
Installing Raspberry Pi OS
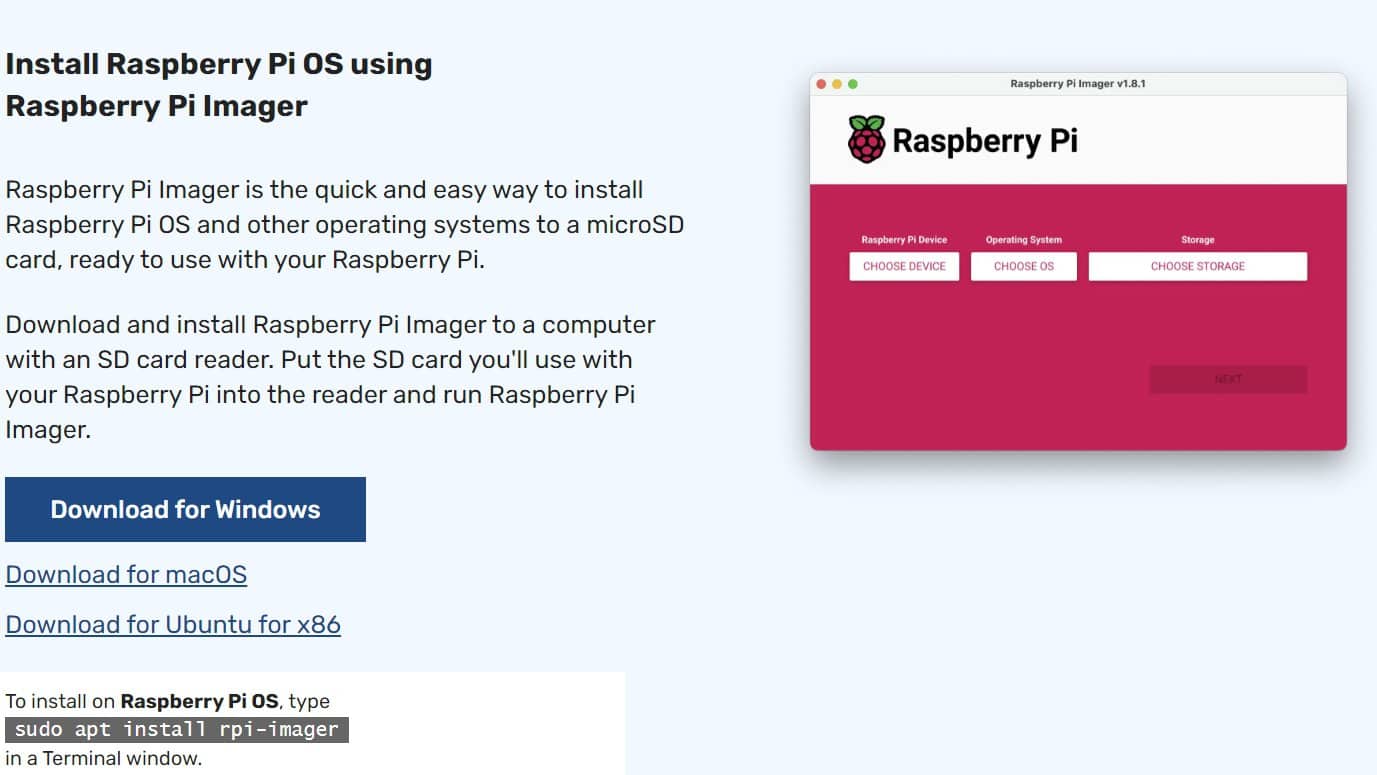
First things first, you'll need an operating system on your Raspberry Pi. The official choice is Raspberry Pi OS, which used to be called Raspbian. You can get this by downloading the Raspberry Pi Imager tool. It's a free download and makes putting the OS onto a microSD card really simple. You just select the operating system, pick your storage, and let it do its thing, you know, it's fairly straightforward.
Once you have the Imager, you'll choose the Raspberry Pi OS (64-bit) or Raspberry Pi OS (32-bit) depending on your Pi model. Then, you pick your microSD card. The tool will handle the rest, writing the operating system image to the card. This step is pretty basic, but it's the foundation for everything else you'll do with your Pi, so, you know, make sure it's done right.
Enabling SSH on Raspberry Pi
After the operating system is on your microSD card, you need to enable SSH. There are a couple of ways to do this. One way is during the imaging process itself, using the Raspberry Pi Imager's advanced options. You can set up a username and password, and also enable SSH right there. This is probably the easiest way, actually, to get it ready for remote access from the start.
If you've already put the OS on the card, you can enable SSH by creating an empty file named `ssh` (no file extension) in the boot partition of the microSD card. Just put the card into your computer, find the `boot` drive, and create that file. When the Raspberry Pi starts up with this card, it will see that file and turn on the SSH service. It's a rather neat trick, really, for getting SSH going quickly.
Alternatively, once your Raspberry Pi is running and connected to a screen and keyboard, you can open a terminal and type `sudo raspi-config`. Inside this configuration tool, you can navigate to "Interface Options" and then select "SSH" to enable it. This method gives you a bit more control, perhaps, if you prefer doing things directly on the Pi itself.
Setting Up SSH on Ubuntu for IoT Monitoring
Ubuntu is another very popular choice for IoT devices, especially for slightly more powerful single-board computers or even older desktop machines repurposed for IoT tasks. Setting up SSH on Ubuntu is quite simple, and it's a good way to get your devices ready for remote observation, you know.
Installing OpenSSH Server on Ubuntu
On an Ubuntu machine, the main thing you need for SSH access is the OpenSSH server package. You can install this from the terminal. Just open up a terminal window and type `sudo apt update` to make sure your package lists are current. Then, you'll type `sudo apt install openssh-server`. This command will get all the necessary parts for the SSH server put onto your Ubuntu system. It's a quick process, typically, and doesn't take very long at all.
Once the installation is done, the SSH service usually starts up on its own. You can check its status to make sure it's running by typing `sudo systemctl status ssh`. If it says "active (running)", then you're good to go. If not, you might need to start it manually with `sudo systemctl start ssh`. This is a pretty common step, actually, to confirm things are working as they should.
Configuring SSH on Ubuntu
For more advanced setups, you might want to adjust the SSH server's settings. The main configuration file is located at `/etc/ssh/sshd_config`. You can open this file with a text editor like `nano` by typing `sudo nano /etc/ssh/sshd_config`. Inside this file, you can change things like the port SSH listens on (the default is 22), or perhaps disallow password logins in favor of more secure key-based authentication. It's a good idea to back up this file before making any changes, just in case, you know.
After making any changes to `sshd_config`, you need to restart the SSH service for those changes to take effect. You can do this by typing `sudo systemctl restart ssh`. This makes sure your new settings are loaded. Setting up remote IoT monitoring using SSH on a Raspberry Pi with Ubuntu, or just a plain Ubuntu machine, is easier than you might think, and these configuration steps help make it even better.
Connecting from Windows to Your IoT Devices
Now that your Raspberry Pi or Ubuntu device is ready to accept SSH connections, you'll need a way to connect from your Windows computer. Windows has come a long way, and connecting to remote Linux machines is pretty straightforward these days, which is rather convenient.
Downloading an SSH Client for Windows
For Windows users, there are a few good options for SSH clients. One very popular and free choice is PuTTY. You can easily find the PuTTY download page with a quick search. Just get the installer for your Windows version and run it. It's a simple program to install, and it provides a clear way to make your SSH connections.
More recently, Windows 10 and 11 actually include an OpenSSH client built-in. You can use it directly from PowerShell or Command Prompt. To check if it's there, just open PowerShell and type `ssh`. If you see usage information, it's installed. If not, you can add it through "Optional features" in your Windows settings. This means you might not even need to download anything extra, which is pretty nice, you know.
Making Your First SSH Connection
With PuTTY, you'll open the program, enter the IP address or hostname of your Raspberry Pi or Ubuntu device in the "Host Name (or IP address)" field, and make sure the "Port" is set to 22 (or whatever custom port you set). Then, just click "Open." A terminal window will pop up, asking for your username and password. Enter those, and you'll be connected! It's actually quite simple to get that first link going.
If you're using the built-in OpenSSH client in PowerShell, the command is even simpler: `ssh username@ip_address_or_hostname`. Replace `username` with your device's user account and `ip_address_or_hostname` with its network address. You'll then be asked for the password. And there you have it—a clear way to get connected to your remote IoT devices, which, you know, makes things much more manageable.
Practical Uses for Remote IoT Monitoring
Once you have SSH set up, the possibilities for remote IoT monitoring really open up. You can check sensor readings, run diagnostic scripts, or even restart services on your devices from anywhere with an internet connection. This is where the true benefit of this setup shines through, giving you a lot of freedom, you know.
For instance, you could have a Raspberry Pi running an environmental sensor in your garden. With SSH, you can log in, see the temperature and humidity data, and even grab the data files without having to go outside. Or perhaps you have a smart home hub on an Ubuntu machine; you can use SSH to check its logs or update its software from your office, which is very convenient. It's about having that control, even when you're not physically present, which is quite liberating.
By integrating SSH with remote IoT, users can execute commands, transfer files, and monitor device health with ease. This article has guided you through everything you need to know to get started. From setting up your Raspberry Pi to securing your connections, you'll be able to manage your IoT projects from afar. Learn more about secure remote access on our site, and you might also find this page helpful for advanced network configurations.
Securing Your SSH Connections
While SSH is secure by design, there are steps you can take to make your remote IoT monitoring even safer. One of the most important things is to use SSH key-based authentication instead of passwords. This involves creating a pair of cryptographic keys: a private key that stays on your Windows computer and a public key that goes on your Raspberry Pi or Ubuntu device. It's a much stronger way to prove who you are, actually, than just a password.
Another good practice is to change the default SSH port (port 22) to something else. This doesn't make it truly more secure, but it does reduce the number of automated attacks that target the default port. You can change this in the `sshd_config` file on your Raspberry Pi or Ubuntu machine, and then restart the SSH service. It's a small change, but it can make a bit of a difference in how often your device is probed by others.
Also, consider setting up a firewall on your Raspberry Pi or Ubuntu device. Tools like `ufw` (Uncomplicated Firewall) on Ubuntu can help you limit which IP addresses can connect to your SSH port. This adds another layer of security, ensuring that only trusted sources can even try to connect. It's a good idea to think about these things, you know, when you're setting up remote access, as safety is pretty important.
And there you have it—a comprehensive guide to setting up remote IoT monitoring with SSH on a Raspberry Pi running Ubuntu, or even a standalone Ubuntu system, all accessible from Windows. By following the steps outlined in this article, you can create a pretty robust setup for managing your connected devices. This platform has become a favorite for many, and it's clear why. This method is particularly effective for enabling SSH access and control over your devices.
Frequently Asked Questions
How do I find the IP address of my Raspberry Pi or Ubuntu device?
You can find the IP address by typing `hostname -I` (that's a capital i) into the terminal on your Raspberry Pi or Ubuntu device. This command, you know, usually shows you the current IP address assigned to your device on the network. It's a quick way to get that information when you need it.
Can I use SSH to transfer files to my Raspberry Pi?
Yes, absolutely! SSH includes tools like `scp` (secure copy) and `sftp` (SSH File Transfer Protocol) that let you move files back and forth securely. On Windows, clients like WinSCP or even the `scp` command in PowerShell (if you have OpenSSH client installed) can do this. It's a very convenient feature, actually, for managing your device's files remotely.
Is it safe to expose my Raspberry Pi's SSH to the internet?
Exposing SSH directly to the open internet can be risky without proper security measures. It's generally better to use a VPN, or perhaps a service like Raspberry Pi Connect, which provides a free screen sharing and secure remote access solution for Raspberry Pi OS. If you do expose it, make sure you use strong, key-based authentication and change the default port. Safety is pretty important, you know, when dealing with internet connections.


Detail Author:
- Name : Mr. Theo Gleichner
- Username : tromp.marilou
- Email : haag.clifton@yahoo.com
- Birthdate : 1987-12-06
- Address : 564 Nya Well Apt. 682 Lake Aiden, KY 74764-6116
- Phone : (740) 352-8922
- Company : Wisoky-Nicolas
- Job : Dental Hygienist
- Bio : Numquam rem error eius ut mollitia debitis molestiae. Minima at et laborum fugiat vel. Explicabo ex fugit qui doloribus et.
Socials
linkedin:
- url : https://linkedin.com/in/fritsch2011
- username : fritsch2011
- bio : Odio quia dolorum sed.
- followers : 6258
- following : 2760
twitter:
- url : https://twitter.com/shania_fritsch
- username : shania_fritsch
- bio : Provident sed veniam laboriosam. Est eaque et eaque quaerat ex nihil illum. Nisi nisi aut autem quia rerum cum at sequi.
- followers : 6599
- following : 635
